 how-to
How to Trim Silence Between Speech Automatically
Table of Contents
- What Automatic Silence Trimming Does and When to Use It
- How to Trim Silence Between Speech Automatically: Step-by-Step
- How to Edit Out Dead Air in Podcasts Without Losing Natural Rhythm
- Remove Background Noise from Voice Recordings Online While You Trim
- Automatic Silence Detection Software: What to Look For
- Calibrating Threshold and Sensitivity for Clean Results
- Common Mistakes When Trimming Silence (and How to Avoid Them)
- Conclusion: A Faster Path to Broadcast-Ready Audio
- Frequently Asked Questions
Last Updated: September 18, 2026
What Automatic Silence Trimming Does and When to Use It
Automatic silence trimming detects quiet gaps between spoken words and shortens or removes them without cutting into speech. Instead of scrubbing a waveform by hand, you set rules and let the software cut.
Dead air adds up fast: a weekly interview show with two-second pauses between answers can carry several minutes of pure silence per episode. Trim silence and the same content feels tighter and holds attention longer.
Silence removal isn't purely technical cleanup, it's an editorial decision about pacing, and the tools only execute what you decide.
Manual Editing vs. Automatic Detection
Manual editing means finding every gap by eye and deleting it. It gives total control but doesn't scale: a 40-minute interview can take an hour or more to hand-trim, and one missed edit leaves an audible jump.
Automatic detection flips the workflow. The software scans the audio track, measures signal level against a noise floor, and marks every region below your audio threshold. You review, adjust, and export.
- Manual: precise, slow, best for short clips
- Automatic: fast, consistent, best for long or batch work
- Hybrid: auto-trim first, then hand-fix the few spots the tool misjudged
For most creators, hybrid wins. The tool handles the boring 90%, and you spend your time on the 10% that needs a human ear.
How to Trim Silence Between Speech Automatically: Step-by-Step
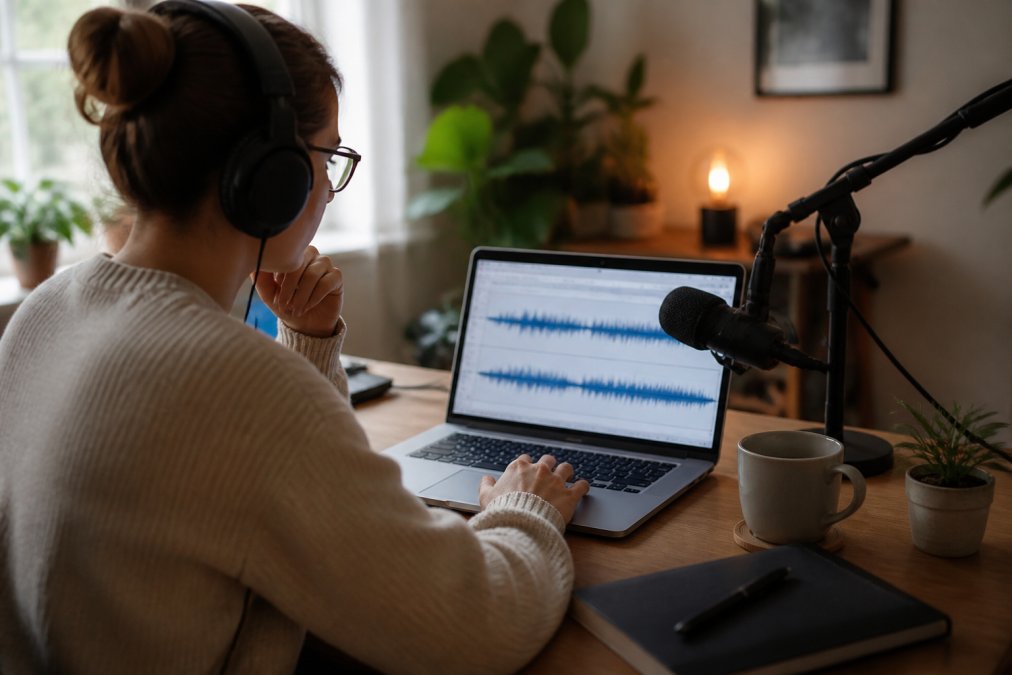
The fastest reliable path is a three-step loop: upload, set thresholds, run the trim.
Step 1: Upload Your Audio or Video File
Drop your file into your editor or a browser-based tool. Most accept WAV, MP3, MP4, and MOV.
Two things to check before you start:
- Is the file the raw take, or already processed? Trimming first, then processing, avoids re-cutting later.
- Does the tool work non-destructive? Good tools keep the original audio track intact so you can undo any edit.
If privacy matters, look for a tool that processes locally in your browser rather than uploading to a server. That's how Finalizer handles it, running entirely on your device so unreleased interviews never leave your machine.
Step 2: Set Your Silence Threshold
This step decides your result, and it's the one people rush.
Your audio threshold is the volume level below which the tool treats sound as silence.
Step 3: Choose Pause Length and Run Auto-Trim
Set your duration threshold: the shortest gap the tool may remove, your pacing control.
- 150-250 ms: keeps a natural, conversational feel
- 100-150 ms: tighter, good for short-form video
- Under 100 ms: aggressive, risks sounding choppy
How This Looks in the Tools You Probably Already Have
The three steps are universal, but every editor hides them behind different labels. Knowing the exact menu path saves hunting through settings.
Batch Processing: Trimming a Whole Folder, Not One File
Most guides stop at a single file. If you produce a weekly show, a season of interviews, or a client's back catalog, single-file trimming is the bottleneck.
The workflow that scales:
- Standardize your source files first. Convert everything to the same sample rate and format before batch processing. Mixed sources produce inconsistent trims.
- Calibrate on one representative file. Pick the file with the worst noise floor, dial in your thresholds, and save them as a preset.
- Apply the preset across the batch. In Audacity, use Macros (Tools > Macros) to chain Truncate Silence with your other cleanup steps and run it on a folder. In Finalizer, the same preset applies across multiple uploads in one session.
- Spot-check, don't full-review. Listen to 30 seconds at the start, middle, and end of two or three files. If those hold up, the batch held up.
- Keep the originals. Batch runs are where non-destructive editing earns its keep, if one file trims badly, you want the raw take back.
How to Edit Out Dead Air in Podcasts Without Losing Natural Rhythm
The goal of learning how to edit out dead air in podcasts isn't zero silence. It's less silence, in the right places.
So trim selectively:
- Cut long gaps, keep short ones
- Preserve pauses after emotional or comedic moments
- Remove the silence, not the breath
Remove Background Noise from Voice Recordings Online While You Trim
Trimming and noise removal belong in the same pass. Remove background noise from voice recordings online after trimming, and you may re-expose gaps the trimmer skipped because noise was masking them.
The order that works:
- Reduce steady noise first (fan hum, room tone)
- Then trim silence against the cleaner noise floor
- Then level and limit
Automatic Silence Detection Software: What to Look For
The right automatic silence detection software does four things well: detects gaps accurately, keeps edits non-destructive, handles audio and video, and lets you tune thresholds.
What to check before you commit:
- Threshold control: Can you set both audio and duration thresholds, or just one?
- Preview: Does it show the cuts before you commit?
- Batch support: Can it process multiple files in one run?
- Export settings: Does it preserve your sample rate and metadata?
- Privacy: Does processing happen locally or on a remote server?
| Feature | Why It Matters | What to Avoid |
|---|---|---|
| Dual thresholds | Controls both detection and pacing | Tools with one fixed setting |
| Non-destructive editing | Lets you undo any cut | Tools that overwrite the original |
| Batch processing | Saves hours on multi-file work | One-file-at-a-time only |
| Local processing | Keeps sensitive audio private | Mandatory cloud uploads |
| Video support | One workflow for audio and video | Audio-only tools |
The Right Tool Depends on What You're Making
Most guides review one piece of software in isolation. The question isn't "which tool is best", it's "which tool fits the work you actually do."
A Quick Decision Path
Work through these in order:
- Is the file audio-only or does it have video? Video with existing cuts points to an NLE (Premiere, Resolve). Audio-only opens up the full field.
- One file or many? Many files means batch support is non-negotiable, filter out anything that only handles one file at a time.
- Does the audio need to stay private? If yes, eliminate cloud-only tools before you compare anything else.
- Do you need transcript-level editing? If you're cutting filler words as well as silence, a transcript-based tool saves a second pass.
- How much threshold control do you need? Multi-speaker recordings and noisy rooms demand separate audio and duration thresholds. Single-speaker studio recordings can get away with less.
Those five questions usually land you on one or two candidates. Test both on the same 10-minute clip and compare output side by side, the only comparison that reflects your actual material.
Calibrating Threshold and Sensitivity for Clean Results
- Short gaps only
- Medium gaps
- All gaps above the minimum
For multi-speaker recordings, calibrate per speaker. A guest on a phone line has a higher noise floor than your studio mic, so a single threshold will over-trim one voice and under-trim the other.
Common Mistakes When Trimming Silence (and How to Avoid Them)
Most bad trims come from a handful of repeatable errors. Fix these and your output improves immediately.
- Cutting too aggressively: Sub-100 ms gaps make speech sound clipped. Keep a natural floor.
- Skipping the preview: Always listen before you commit.
- Trimming after compression: Compress first and you boost the pauses. Trim first.
- Ignoring room tone: Total silence between words sounds unnatural. Leave a little.
- No batch consistency: Different settings per episode create uneven pacing across a series.
Conclusion: A Faster Path to Broadcast-Ready Audio
Trimming silence by hand doesn't scale, and guessing at thresholds creates choppy speech. The better path is a three-step loop: set your audio and duration thresholds, run the auto-trim, then listen and adjust.
Frequently Asked Questions
What is the fastest way to trim silence between speech?
The fastest method is an automatic silence detection tool that analyzes your audio waveform, identifies gaps below a set threshold, and removes them in one pass. Unlike manual timeline editing in a DAW, where you highlight and delete each pause individually, an auto-trim tool processes an entire episode in seconds. For creators who record weekly, this saves hours per episode and keeps pause removal consistent across every file.
Can AI automatically remove silent parts from video?
Yes. Modern AI-powered tools analyze the audio track inside a video file, detect silent gaps between speech, and trim them without touching the video frames. The result is a shorter clip with tighter pacing. This works well for talking-head videos, interviews, and tutorials. Some tools also handle background noise and volume leveling in the same pass, so you get a polished video file back without opening a separate editor.
How do professional editors handle long pauses in podcasts?
Most professionals set a duration threshold, often between 0.3 and 0.7 seconds, and remove anything longer while keeping shorter natural pauses intact. They also calibrate the audio threshold to sit just above the room's noise floor so breathing and room tone don't get mistaken for speech. The goal is tighter pacing without making conversation sound robotic or clipped.
Is there a free online tool to remove silence from audio?
Several browser-based tools offer free silence removal, though limits on file length or export quality vary. Finalizer runs entirely in your browser using local processing, so your files never leave your device, and it offers a free tier with no account required. You can drag a file in, set your pause length, and download the trimmed result. For longer projects or video files, paid tiers unlock more capacity.