 ultimate-guide
Best Accuracy for Fast Local Rendering: 2026 Guide
Table of Contents
- Why Accuracy Breaks Down During Fast Local Rendering
- Tile-Based Rendering Best Practices for On-Chip Memory
- Local vs Cloud Rendering Performance: Where Each Wins
- GPU Rendering Optimization Techniques That Preserve Fidelity
- Pre-Rendering, Baking Textures, and Scene Simplification Trade-Offs
- Balancing Frame Budget Against Latency and Accuracy
- Conclusion
- Frequently Asked Questions
Last Updated: September 16, 2026
Why Accuracy Breaks Down During Fast Local Rendering
Fast local rendering is the practice of generating final, display-ready frames on the user's own hardware, inside the browser or on the device, without shipping the scene to a remote server. The best approach for ensuring accuracy during fast local rendering is to keep the pipeline deterministic: fix your frame budget first, then decide which effects earn a place inside it. Finalizer.ai, which runs its entire audio engine locally in the browser, applies the same principle to spoken-word media.
Speed creates a specific kind of failure. When you compress a frame budget, the renderer starts dropping precision in places you did not choose: half-resolution shadow maps, aggressive texture mip bias, temporal accumulation that never converges. The frame arrives on time and looks wrong.
What most guides miss is that accuracy loss during fast local rendering is rarely a raw compute problem. It is a scheduling problem. According to Khronos Group's graphics API documentation, tile-based architectures process geometry once and shading per tile, which means the order you submit work in changes the result, not just the speed.
Below, we break down where accuracy actually breaks, which optimizations preserve fidelity, and how to balance frame budget against latency without guessing.
Tile-Based Rendering Best Practices for On-Chip Memory
Tile-based rendering (TBR) splits the frame into small tiles and shades each one from fast on-chip memory rather than repeatedly hitting main memory. The practical benefit is memory bandwidth: a tile that fits in on-chip storage never round-trips to VRAM, which is where most of the power and latency go.
- Binning. The GPU runs a fast geometry pass that sorts every triangle into the tiles it touches. This pass is cheap because it does not shade, but it is also where overdraw is decided. A scene with heavy alpha-tested foliage produces triangles that land in many tiles and get shaded repeatedly.
- Per-tile shading. Each tile is loaded into on-chip memory, shaded, and written back. If the working set, color, depth, and any render targets, exceeds the tile memory budget, the driver spills to main memory mid-tile and the bandwidth advantage disappears.
- Resolve. Multisampled tiles are averaged down and written to the final framebuffer. This is a full-frame write, so it is the one step you cannot avoid; everything before it is what you optimize.
Tile-based rendering best practices come down to four habits:
- Keep tiles resident. Size your tile buffer so the working set stays in on-chip memory for the whole pass. A common pattern is to keep color and depth in tile memory and push anything else, G-buffer normals, motion vectors, custom masks, to a separate pass or a compressed format.
- Sort by state. Batch draws that share shaders and textures to cut state changes per tile. State changes force the driver to flush and reload tile memory, which is the single most expensive thing you can do inside a binning pass.
- Defer shading. Run a depth pre-pass so hidden pixels never reach the fragment shader. On a tiled architecture this is close to free, because the depth pre-pass writes only depth and the shading pass then rejects occluded fragments before they consume tile bandwidth.
- Avoid mid-pass render target switches. Every switch to a new render target forces a resolve and a reload. If you can merge two passes into one, do it, the bandwidth saving usually beats any shader-level optimization you could make instead.
A useful diagnostic: if frame time scales with screen resolution rather than with scene complexity, you are almost certainly bandwidth-bound at the tile level, and the fix is in your pass structure, not your shaders.
Local vs Cloud Rendering Performance: Where Each Wins
Local rendering wins on latency and privacy. Cloud rendering wins on peak throughput and scene complexity. Choosing between them is a question of what your frame budget can tolerate, not which one is faster in the abstract.
| Factor | Local Rendering | Cloud Rendering |
|---|---|---|
| Latency | Predictable, no round trip | Network-dependent, variable |
| Privacy | Data never leaves device | Scene data leaves device |
| Peak complexity | Limited by local hardware | Scales with server fleet |
| Cost model | One-time hardware | Ongoing per-minute usage |
| Offline use | Works | Fails |
GPU Rendering Optimization Techniques That Preserve Fidelity
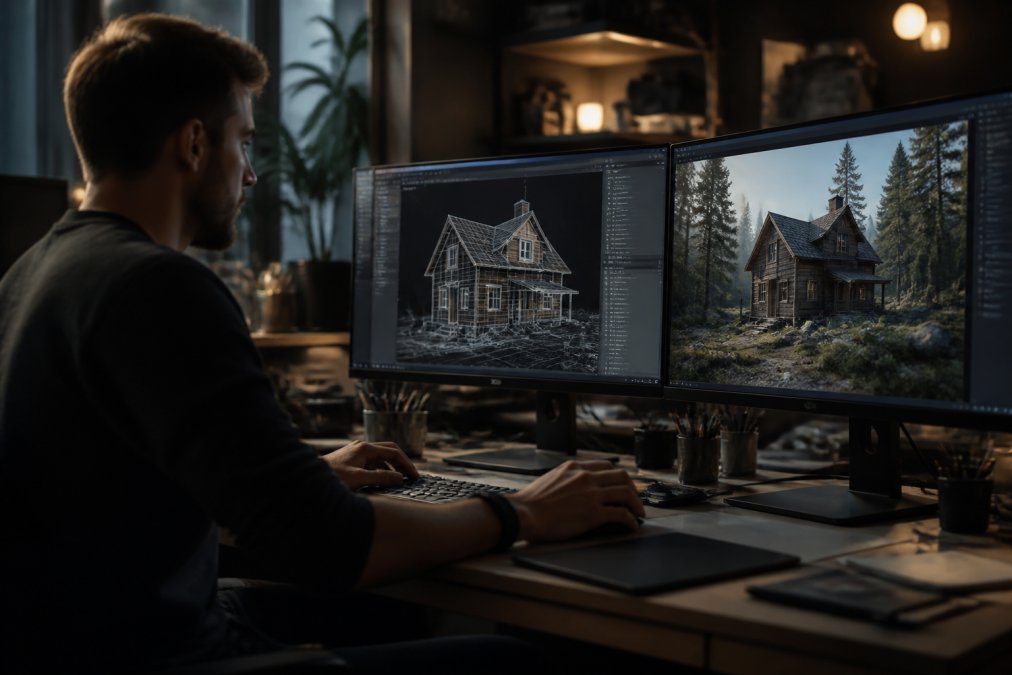
The reliable techniques:
- Frustum and occlusion culling. Skip geometry that cannot appear in the frame. No visible pixels are lost.
- Level-of-detail (LOD) switching. Reduce vertex processing for distant objects where the detail is below the pixel threshold.
- Compute shader batching. Move per-object work into a single dispatch to cut CPU overhead without touching output quality.
- Shader specialization. Compile variants for the actual material combinations in the scene instead of branching at runtime.
Pre-Rendering, Baking Textures, and Scene Simplification Trade-Offs
A useful rule: bake what does not move, pre-render what does not change, simplify what the camera never gets close to.
Balancing Frame Budget Against Latency and Accuracy
Frame budget is the time you have to produce one frame, and every accuracy decision is a withdrawal from it. The balancing act is deciding which withdrawals are invisible and which ones the viewer will notice. Most guides stop there. The harder question, and the one almost no ranking article answers, is when to stop spending on accuracy, and how to know you have crossed that line.
A practical accuracy threshold
Treat accuracy as a threshold, not a spectrum. For each effect, define the point below which the viewer cannot tell the difference at the target display size and viewing distance. Above that point, extra precision is wasted frame time. Below it, the artifact becomes visible and the frame reads as broken.
A workable framework:
- Fix the target frame time and treat it as a hard ceiling. For a 60 Hz display that is roughly 16.6 ms; for 120 Hz it is roughly 8.3 ms. Anything that cannot fit gets cut, not squeezed.
- Cut passes that read and write the frame buffer before cutting shader quality. Bandwidth is the dominant cost on tiled and integrated GPUs, and a removed pass saves time without touching output fidelity.
- Reduce resolution on effects the eye is least sensitive to. Motion blur, ambient occlusion, and screen-space reflections tolerate half-resolution or quarter-resolution buffers with little visible loss at typical viewing distances.
- Lower shadow map resolution only after the above are exhausted. Shadow softness hides resolution loss better than most effects, but contact shadows and self-shadowing on characters are where the loss becomes visible first.
- Keep full resolution on anything the viewer looks at directly. Faces, UI, and the primary subject of the shot are the last places to reduce.
Latency and accuracy do not trade evenly
Latency reduction is usually free once you remove buffer round-trips and unnecessary passes. Accuracy loss is usually permanent once you ship it, because the artifact is baked into the content pipeline and the viewer has already seen it. Spend the effort on the free win first.
Edge computing as a third lever
Edge computing integration is the third lever, and the one with the clearest trade-off. Pushing part of the pipeline to a nearby node cuts latency compared with a distant data center, but it reintroduces the network dependency that local rendering was designed to avoid. Use it for workloads that genuinely exceed local hardware, large scene pre-processing, heavy simulation, or asset transcoding, not as a default.
Conclusion
Fast local rendering rewards teams that treat accuracy as a budget line rather than an afterthought. Cut the work that produces no visible pixels, keep your working set in on-chip memory, and reserve quality reductions for effects the viewer will not notice.
Frequently Asked Questions
What is tile-based rendering and why does it matter for fast local rendering?
Tile-based rendering splits each frame into small grids, processes one tile at a time, and keeps color, depth, and texture data in on-chip memory instead of sending it to slower main memory. This cuts memory bandwidth demand and keeps frame times consistent, which is why mobile GPUs and many desktop pipelines rely on it. The payoff is fewer stalls and steadier throughput, so a local render holds its accuracy even when scene complexity spikes.
How does local vs cloud rendering performance differ for accuracy?
Local rendering removes network latency and upload or download waits, so you see results and corrections immediately. Cloud rendering can scale to far more compute units, but round-trip delay and data transfer add friction. For sensitive or deadline-driven work, local execution also keeps raw assets on your machine. The trade-off is raw throughput versus response time, and most pipelines mix both.
What is the best render resolution for balancing speed and accuracy?
There is no single number. Start at the display's native resolution, then test whether upscaling from a lower internal buffer still passes your visual check. Dropping the internal buffer by 25 to 50 percent often doubles pixel throughput, but fine edges and text degrade first. For 3D Gaussian splatting and ray-traced scenes, keep the internal buffer higher and reduce sample counts instead.
How do GPU rendering optimization techniques reduce latency without hurting fidelity?
Compute shaders, parallel processing, and cache locality tuning let the GPU finish the same work in fewer cycles. Bake static lighting and textures once, then reuse them instead of recomputing per frame. Keep vertex processing lean, compress data where the format allows, and watch for visual artifacts that signal you cut too deep. The goal is to spend the frame budget on what the viewer actually notices.